Welcome to Your E-Commerce Project!
This guide provides a comprehensive walkthrough for setting up, customizing, and deploying your e-commerce application. The project is divided into three core components:
- Backend API Server: The engine of your application, handling data and logic.
- Customer Storefront: The beautiful, user-facing shop where customers browse and purchase.
- Admin Dashboard: The control panel for managing products, orders, and customers.
Follow these steps closely to ensure a smooth and successful setup.
1Mastering Your GitHub Repository
A well-organized GitHub repository is the foundation of your project. It's crucial for version control, collaboration, and deployment.
Why GitHub is Your Best Friend
- Version Control: Safely track every change and revert to previous versions if needed.
- Collaboration: Work seamlessly with team members on the same codebase.
- Cloud Backup: Your code is securely stored and accessible from anywhere.
- Automated Deployment: Platforms like Render and Netlify deploy directly from GitHub.
- Professional Portfolio: A clean repository showcases your skills to potential employers.
.gitignore file to
exclude files like .env from being tracked.
2Install Project Dependencies(All 3 file)
Before running the project locally, you need to install all required dependencies. This ensures your project has all the packages it needs to function properly.
Installation Instructions:
- Open your terminal in the project root directory.
-
Run the following command:
npm install -
Once completed, you can start the project using:
                         //If it is frontend
                         npm run dev
                         //if it is backend
                         node Server.js
3Customizing Your Storefront Pages
Let's bring your brand to life! This section guides you through customizing the key pages of your e-commerce site.
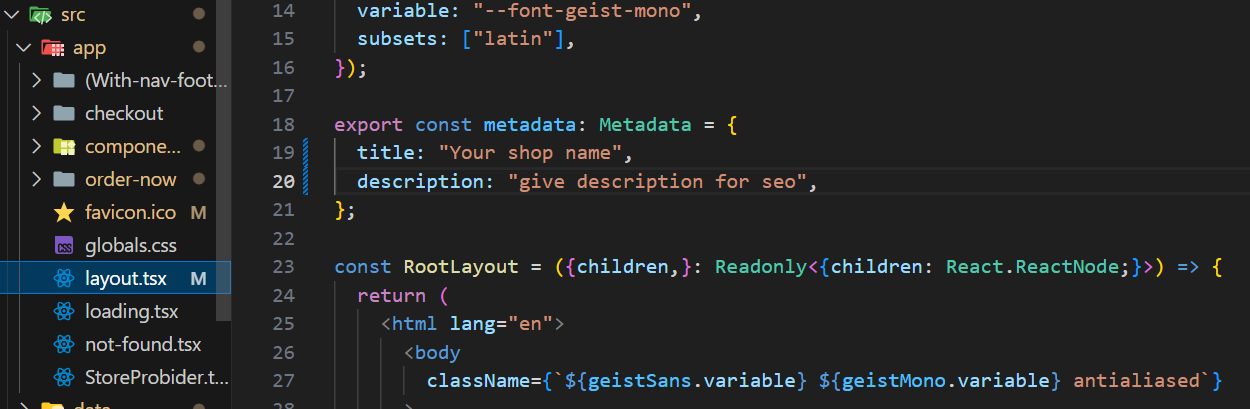
1. Browser Tab Customization(In your E-commerce-Project)
Make your store recognizable in browser tabs by setting a custom title and icon.
Customization Instructions:
-
Update Tab Title & Description:
Edit the metadata in your layout file:
src/app/layout.tsx// layout.tsx export const metadata: Metadata = { title: "Your Shop Name", // Change this description: "Your shop description for SEO", // Change this icons: { icon: '/favicon.ico', // Default icon path } }; -
Add Custom Favicon:
Replace the default favicon at:
src/app/favicon.ico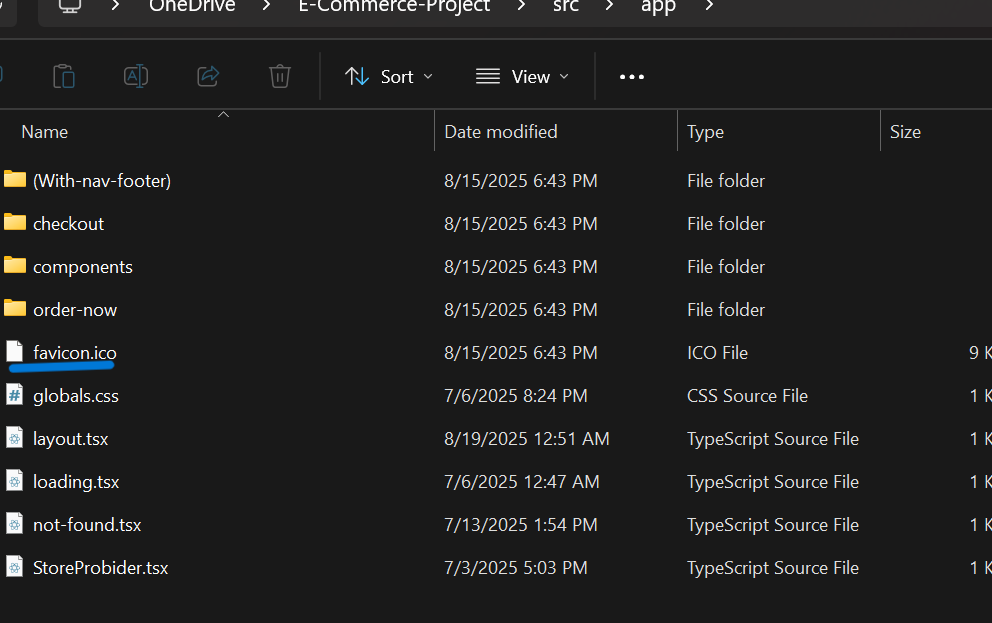
For best results:
- Use 512×512 source image
- Convert to .ico format
- Multiple sizes recommended (16x16, 32x32, 64x64)
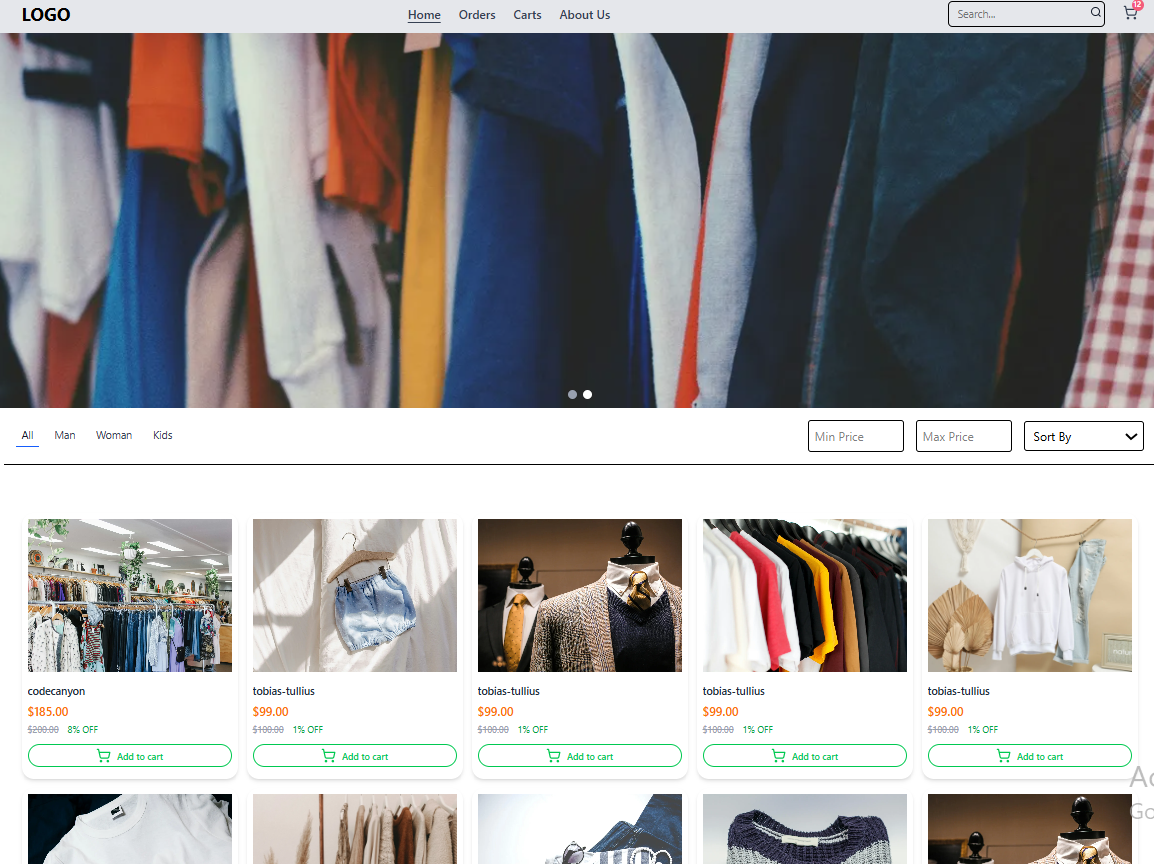
2. Shopping Home Page
This is the main storefront where customers get their first impression and start browsing.
Customization Instructions:
-
Update Your Logo:
Replace the placeholder logo at
public/logo.jpgwith your own LOGO.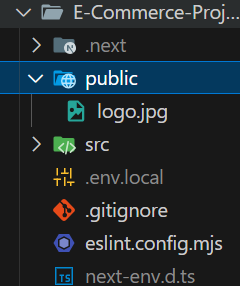
-
Define Product Categories:
Edit categories in:
src/data/categories.js// categories.js module.exports = { PRODUCT_CATEGORIES: [ "Men", "Women", "Kids", "Electronics", "Home Decor" ] };
3. Shopping Cart & Checkout
A seamless checkout process is vital for conversions.
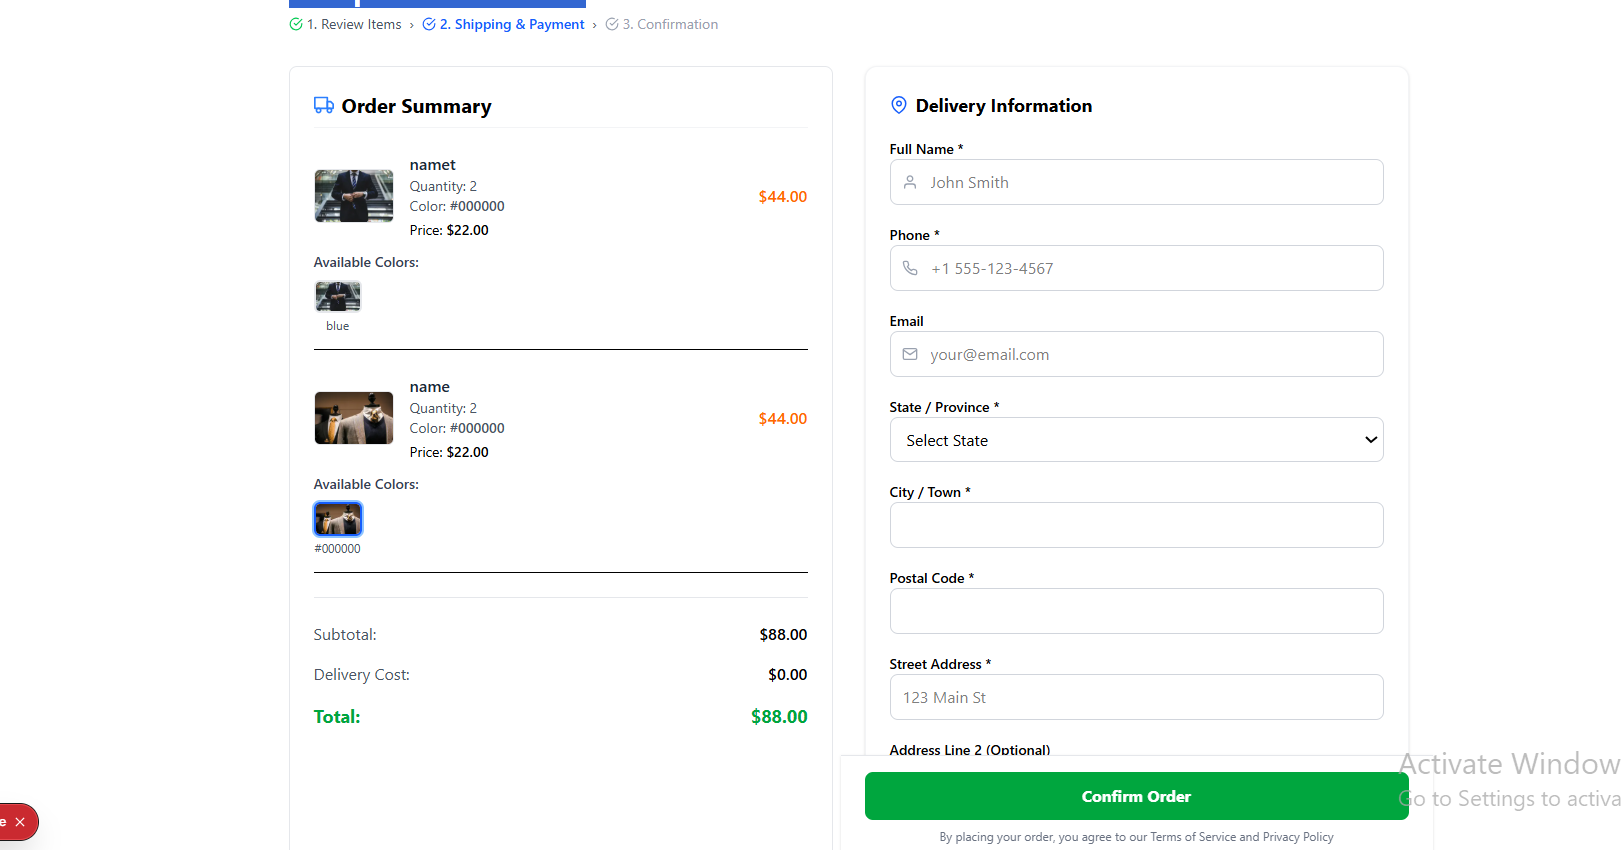
Configuring Delivery Costs:
-
Edit State-Based Delivery:
Modify
src/data/AddressData.js:// AddressData.js export const USStates = [ { name: "California", deliveryCost: 5 }, { name: "New York", deliveryCost: 7 }, // ... other states ];
4. About & Contact Pages
Build trust with well-crafted informational pages.
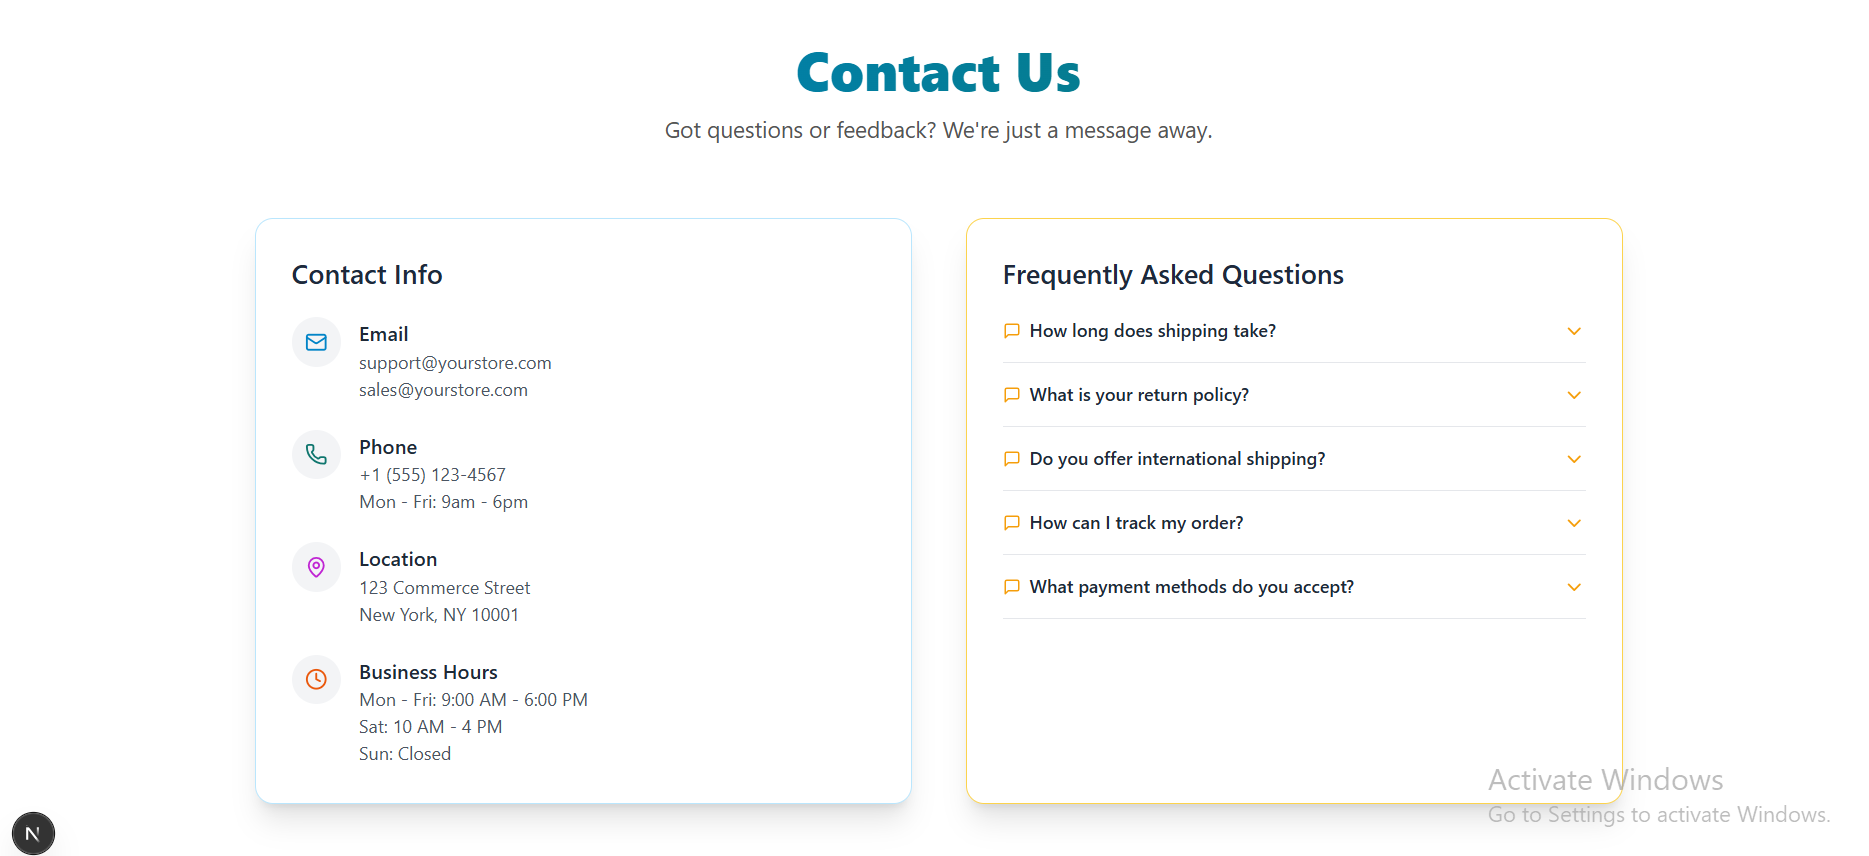
Content Customization:
-
Update Contact Info:
Edit
src/data/contactInfo.js:// contactInfo.js export default { email: "contact@yourstore.com", phone: "+1 (555) 123-4567" }; -
Update FAQs:
Edit
src/data/faqs.js:// faqs.js export default [ { question: "What's your return policy?", answer: "30 days money back guarantee." } ];
5Go Live! Deployment Guides
It's time to share your project with the world. Deploying involves pushing your code to a live server. We recommend these modern hosting platforms.
Backend Deployment (Render)
Deploy your Node.js API server. These platforms simplify server management, database connections, and scaling.
View Backend Deployment DocsFrontend Deployment (Netlify)
Deploy your customer storefront and admin dashboard. These platforms offer seamless GitHub integration, global CDNs, and automatic builds.
View Frontend Deployment DocsPre-Deployment Checklist
Before you deploy, ensure you've completed these critical steps:
- Thorough Local Testing: Confirm every feature works perfectly on your local machine.
- Environment Variables: Set up production environment variables (especially database URLs and API keys) on your hosting platform.
- Production Database: Configure and connect to your live database service.
- Final Code Review: Push all your latest, stable code to your main branch on GitHub.