MongoDB Atlas Setup Guide

Introduction

MongoDB Atlas is a fully-managed cloud database service that provides all the features of MongoDB without the operational heavy lifting. This guide will walk you through creating an account and setting up your first cluster.

Note: MongoDB Atlas offers a free tier (M0) that's perfect for learning and small projects. This guide will focus on setting up a free cluster.

Creating a MongoDB Atlas Account

Visit the MongoDB Atlas Website

Go to the MongoDB Atlas homepage.

MongoDB Atlas homepage

Start the Registration Process

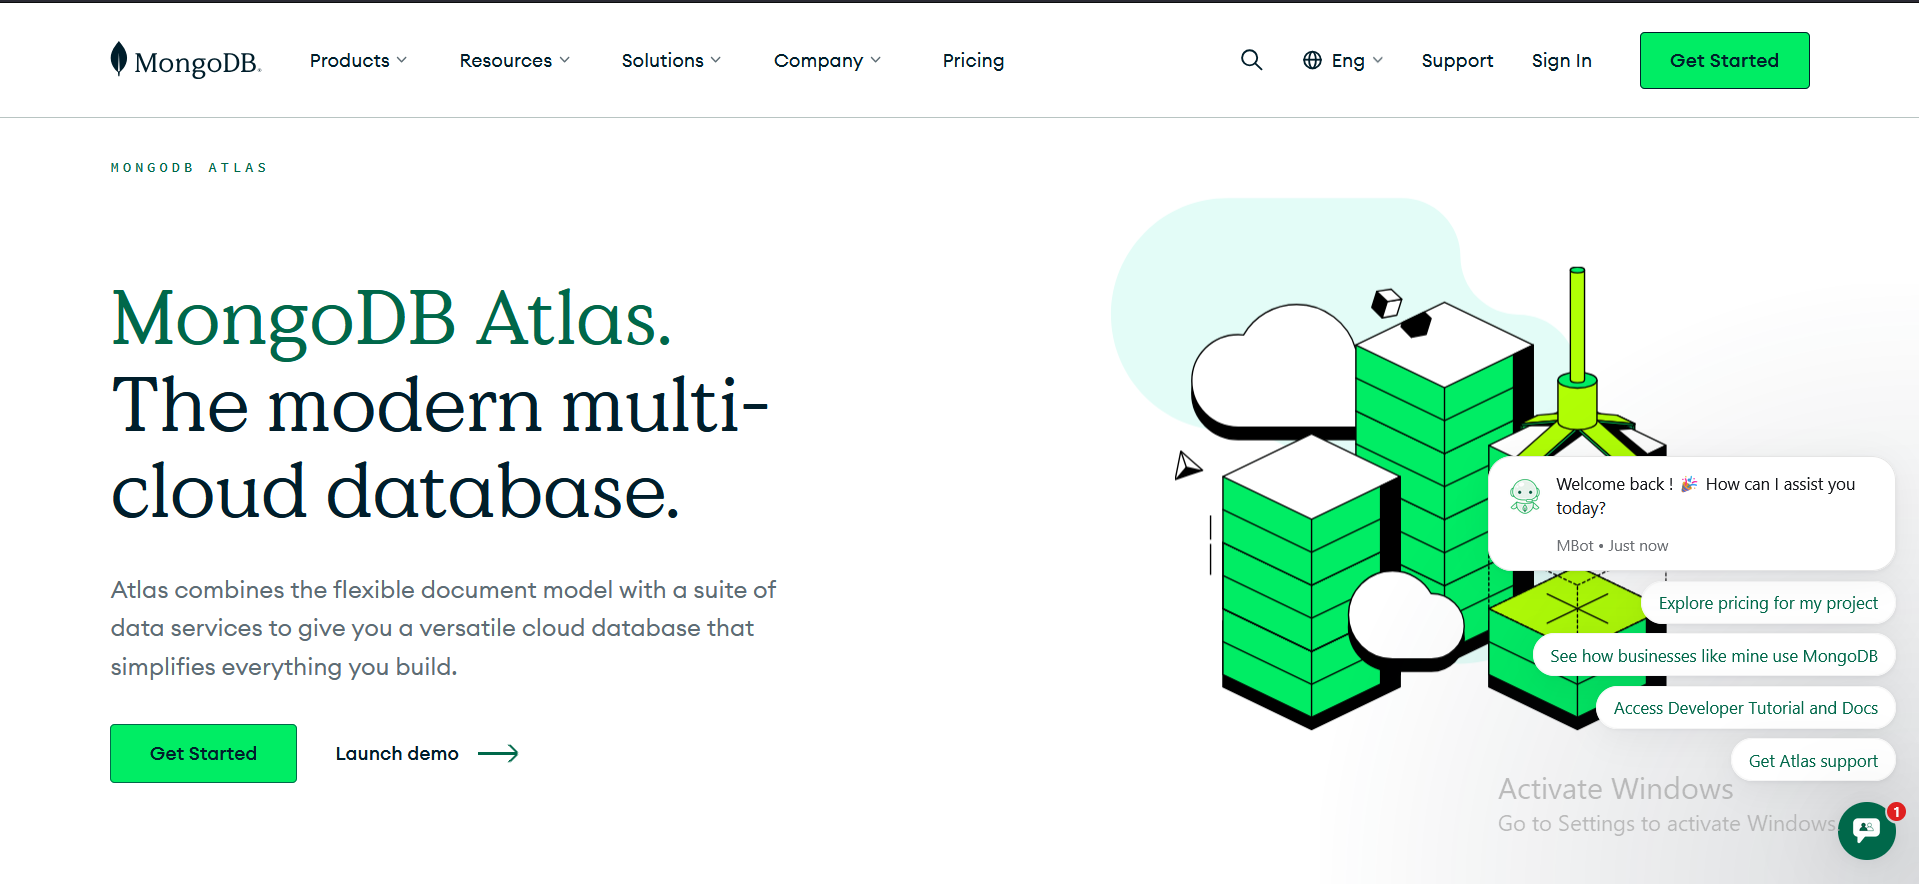
Click on the "Get started" button in the top right corner.

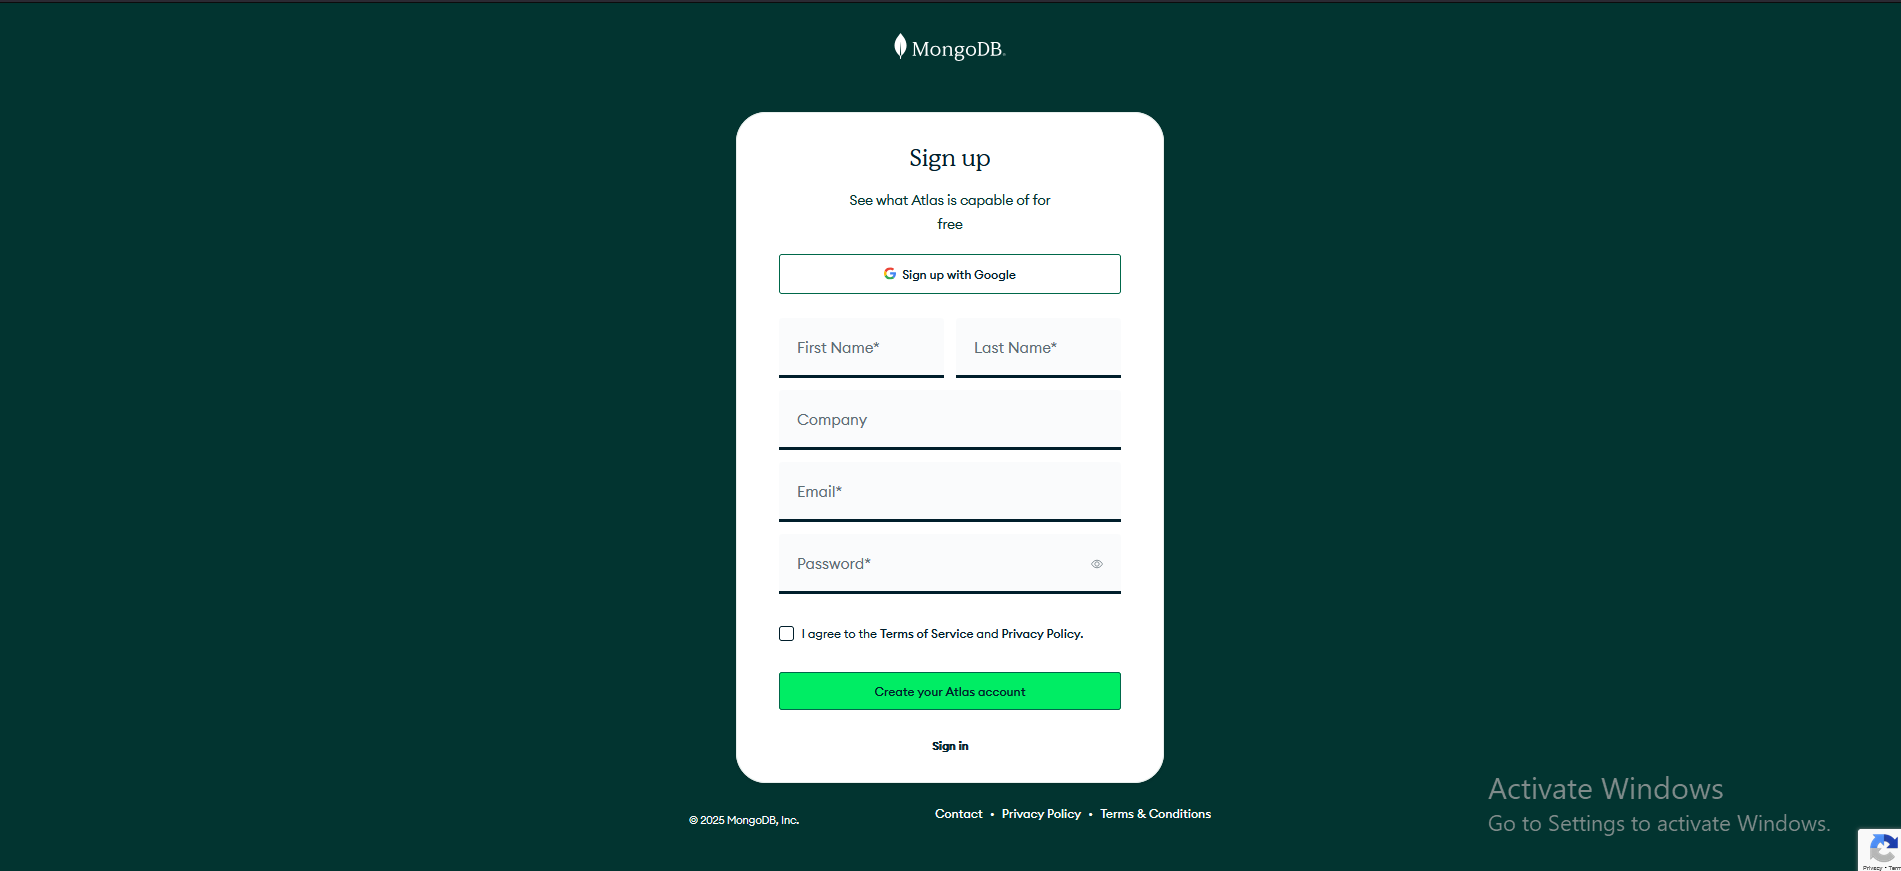
Fill in the Registration Form

Complete the registration form with your details:

  • First and last name
  • Email address
  • Password (must be at least 8 characters)

Check the box to agree to the Terms of Service and Privacy Policy.

Registration form

Verify Your Email

After submitting the form, MongoDB will send a verification email to the address you provided.

Click the verification link in the email to complete the registration process.

Complete Your Profile

After verification, you'll be asked to complete your profile:

  • Company name (optional)
  • Job title (optional)
  • Country
  • Phone number (optional)

Click "Finish" to proceed.

Creating Your First Cluster

Access the Atlas Dashboard

After completing your profile, you'll be redirected to the MongoDB Atlas dashboard.

Click on "Build a Cluster" or "Create Cluster" button to start the cluster creation process.

Build a Cluster button

Choose a Cloud Provider and Region

Select your preferred cloud provider (AWS, Google Cloud, or Azure) and region:

  • For the free tier (M0), only certain regions are available
  • Choose a region closest to your location for better performance

Cloud provider and region selection

Tip: The free tier is labeled as "FREE TIER AVAILABLE" in the cluster tier selection.

Select Cluster Tier

Choose the cluster tier:

  • For learning and small projects, select "M0 Sandbox" (free)
  • This provides 512 MB storage and shared RAM
Warning: Higher tiers are not free and will incur costs. Be careful when selecting other options.

Configure Additional Settings

Leave the default settings for:

  • Cluster Name (or give it a meaningful name)
  • MongoDB Version (latest stable version recommended)

For the free tier, additional configuration options are limited.

Create Cluster

Click the "Create Cluster" button at the bottom of the page.

The cluster creation process will begin, which typically takes 5-10 minutes.

Note: You'll see a progress indicator while your cluster is being created. You can proceed with other setup steps while waiting.

Post-Creation Setup

Set Up Database Access

While your cluster is being created, set up database access:

  1. Navigate to "Database Access" under the "Security" section
  2. Click "Add New Database User"
  3. Choose authentication method (Password recommended)
  4. Enter a username and password
  5. For "User Privileges", select "Atlas admin" for full access
  6. Click "Add User"

Database user creation

Security Tip: Store your password securely. You'll need it to connect to your database.

Configure Network Access

To connect to your cluster, you need to whitelist IP addresses:

  1. Navigate to "Network Access" under the "Security" section
  2. Click "Add IP Address"
  3. For development, you can add your current IP address by clicking "Add Current IP Address"
  4. Alternatively, you can allow access from anywhere (not recommended for production) by entering 0.0.0.0/0
  5. Click "Confirm"
Network access configuration Network access configuration

Connect to Your Cluster

Once your cluster is ready (status will show as "Active"):

  1. Click "Connect" on your cluster dashboard
  2. Choose a connection method:
    • Connect with the MongoDB Shell
    • Connect your application (with drivers)
    • Connect using MongoDB Compass (GUI tool)
  3. Follow the instructions for your chosen method
Connect to cluster showing credentials and connection string Connect to cluster showing credentials and connection string
Important Security Note:
  • The username and password shown in the connection dialog are the credentials you created earlier
  • Take a screenshot or note them down securely as they won't be shown again in plain text
  • If you forget your password, you'll need to create a new database user
Connection String Instructions:
  1. Copy the entire connection string provided (similar to the example below)
  2. This connection string will be needed in your application's environment variables or configuration
mongodb+srv://username:password@cluster0.mongodb.net/test?retryWrites=true&w=majority

Connection string highlighted in MongoDB Atlas

For Environment Variables:

Typically you'll add this to your .env file as:

MONGODB_URI=mongodb+srv://username:password@cluster0.mongodb.net/test?retryWrites=true&w=majority

Or in your application configuration:

// Node.js example
const mongoose = require('mongoose');
mongoose.connect(process.env.MONGODB_URI, {
    useNewUrlParser: true,
    useUnifiedTopology: true
});
Security Best Practices:
  • Never commit your connection string directly in source code
  • Always use environment variables for sensitive credentials
  • Add .env to your .gitignore file
  • Consider rotating your database password periodically

Remember

These two things you need for server setup:

Connection string Database credentials

Troubleshooting

Common Issues

Getting Help

If you encounter issues, consult these resources:

Conclusion

You've successfully created a MongoDB Atlas account and set up your first cluster. You can now start using your cloud database for your applications.

Next Steps: